Setting up a local development environment for Apple devices can be challenging. This guide will help you access an Apache virtual host running on your local machine from an iDevice.
To achieve this setup we will configure the iDevice to connect to the internet through a HTTP Proxy server running on your local machine, allowing the device access to your virtual hosts. The main requirement is that your local machine and iDevice must be on the same wireless network.
This guide will demonstrate using a local Apple desktop/laptop and the highly recommended HTTP proxy app Charles, however these same basic steps should also work on a Windows HTTP proxy like Fiddler.
Prerequisites
- You must have a local Apache virtual host ready to go. If you need help here, see my post on setting up an Apache virtual host.
- An iDevice (iPad, iPhone, etc) ready to use and able to connect to your local machine with it’s USB cable.
- A wireless local area network on which all devices (iDevice, your local machine) are connected.
Installing The Proxy App
-
Download Charles from:
http://www.charlesproxy.com/latest-release/download.do -
After downloading, run the .dmg installer.
Drag the app into your Applications folder.
Go into your Applications folder and double-click the Charles.app icon to launch it. - When prompted, grant Charles access to your proxy settings and install the Firefox ad-on (if you will be using Firefox for development).
Connecting The iDevice
Get your local system’s IP address
-
Go to the search bar in the upper-right corner of the Mac desktop and enter Network Utility.
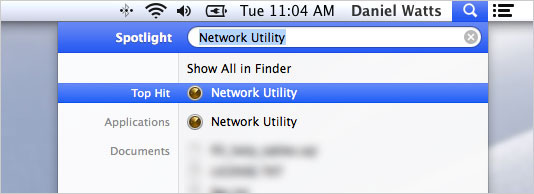
- Launch the Network Utility app.
-
From the Network Utility window, under the Info tab, then under the Interface Information section look for the line IP Address. The IP address listed will be the IP of your computer. Make a note of this.

Connect the mobile device
- Connect the device (iPad, iPhone etc.) to your local machine via a proper device-specific USB cable.
- Exit-out of iTunes after it autolaunches.
Tell the mobile device your local IP
-
On the iDevice:
- Goto Settings -> WiFi.
- Tap the name of the WiFi network you are connected to.
- At the bottom of the screen under the HTTP PROXY heading, tap the Manual button.

- Click the word Server and enter your computers IP address.
-
Next, click the word Port and enter 8888.

- You can now close this UI out by clicking <WiFi at the top of the screen.
Configure Charles
-
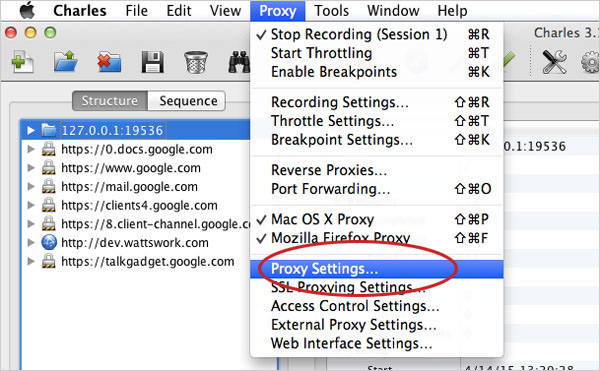
Open the Charles Proxy app and goto Proxy -> Proxy Settings.
-
Make sure the HTTP Proxy Port is set to 8888.
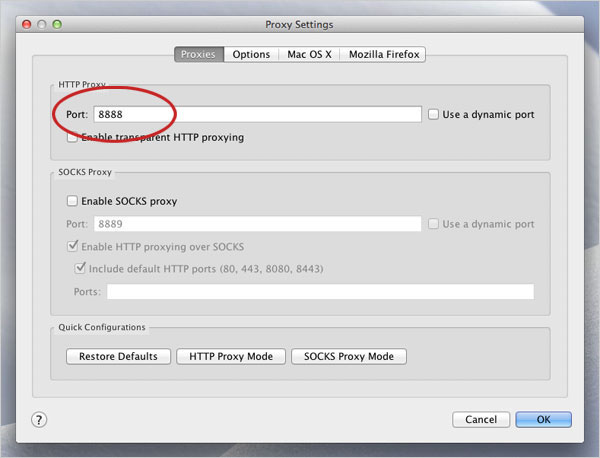
- Goto the Mac OS X tab.
-
Make sure “Enable Mac OS X Proxy” and “Use HTTP proxy” are checked.
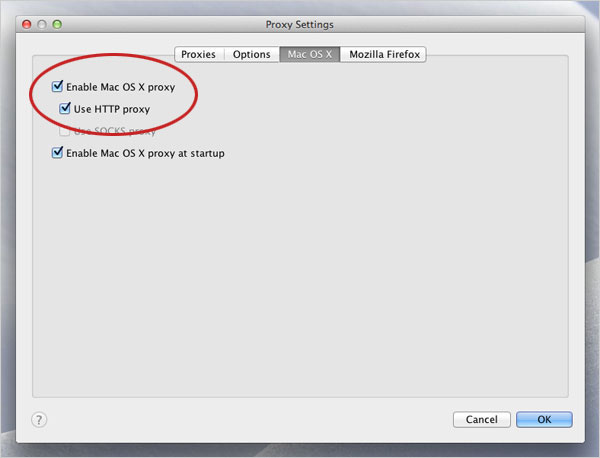
- Click the OK button to save and exit the settings dialog.
Check the connection
- Open the Safari web browser on the iDevice and type your local virtual host URL (something like local.mysite.com) into the address bar.
- You will get a warning from Charles about “A connection attempt to Charles has been made from the host….”. Click the Allow button when the dialog appears to accept the connection from your local device.
You should now see your local virtual host served up on the iDevice!
Notes
About The Device
Setting up this method means changing the WiFi settings on the device. You need to remember to put the settings back to normal after you are done or the device will not be able to naturally connect to the internet and you will see the message “Safari cannot open the page because the network connection was lost”.
Troubleshooting
People online have had issues getting this to work with a corporate firewall. this post may help.